When we talk about major investments in your house, it’s easy to throw around buzzwords like dry fix. It’s much harder to explain why and how they have relevance to your home and finances. This is particularly true of roofing issues because they happen over a long period of time. However, we can look to the past to see extreme examples of architecture being stress tested and apply that to today.
The year was 1453, and the ancient city of Constantinople was under siege by the Ottoman Empire. The double walls of Theodosius had seen off many invaders, but Sultan Mehmet II had ordered the construction and implementation of the biggest cannon the world had yet seen. Theodosius’s mighty walls were soon reduced to rubble. But then a curious thing happened, as the defenders scrambled to erect crude palisades. The loose-packed earth, wood, and debris withstood the cannonballs far better than the walls themselves had.
Constantinople eventually fell thanks to a neglected postern gate. But the principle of loose structures withstanding forces far better than inflexible ones still holds true over 500 years later. That principle can be part of your roof today, and indeed it’s the best single investment you can possibly make in your roof.
The Pitfalls of Mortar
Traditionally housing tiles were mortared in place on the roof. This prevented them from easily falling down, but it also meant that they couldn’t flex in the face of the weather. When the wind blows the tiles take the full brunt of that force. This doesn’t have effects immediately, but over years the kinetic force along with the effects of rain gradually erode the tiles.
There’s a further issue with mortar. The changing weather can gradually wear it down. This is because of the freeze/thaw cycle. When water freezes, it expands, and when it thaws it contracts. Why is this an issue for mortar? Mortar is relatively porous. This means that water can enter into said pores as a liquid, and then freeze into a solid. The expansion starts to crack up the mortar.
When the ice thaws again, the water can enter the cracks and the cycle repeats. Over time the mortar is weathered away. Even worse, it tends to accelerate over time. This is because the cracks gradually get bigger and bigger so the ice can get further and further into the mortar. Not only is this an expensive and time-consuming problem to deal with, but it will also only get more expensive and more time-consuming as time goes on.
The Benefits of Dry Fix Roofing
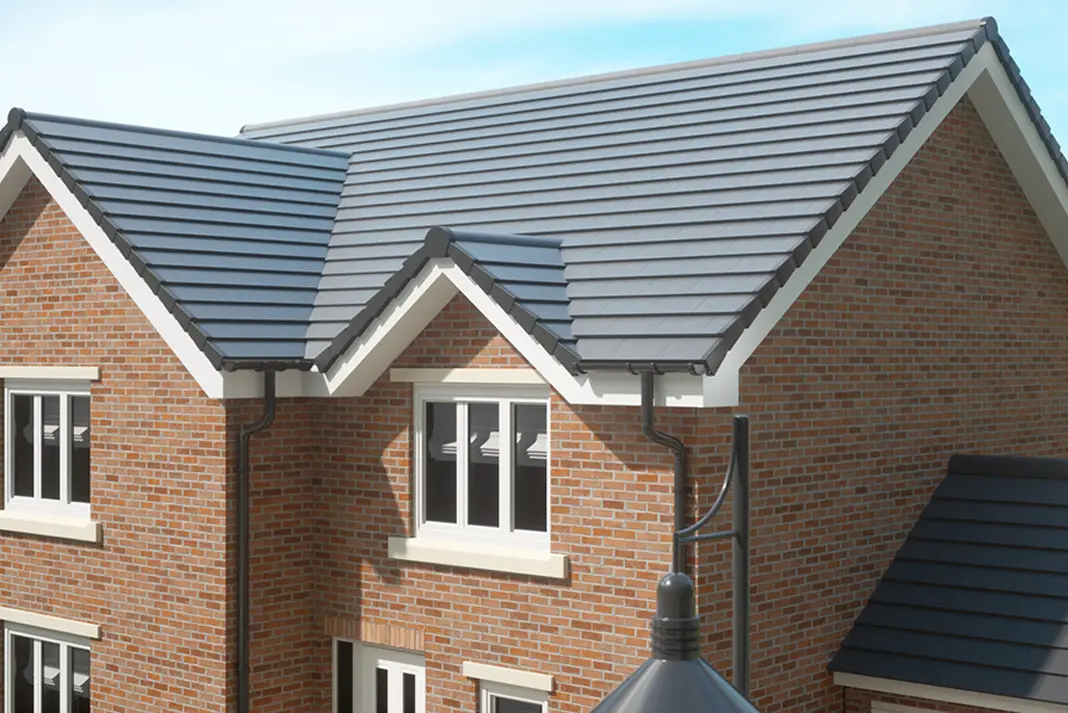
Dry fix sidesteps all of these issues. Dry fix, sometimes called mechanical fixing, is a way of installing the roof tiles so they are held securely, but not firmly, in place without the need for mortar. This allows the whole roof to flex in the face of strong winds. The force of the impact is dissipated by this action. In addition, since the roof doesn’t need mortar it’s less exposed to freezing and thawing damage. Find out more about Roofing Roof Replacement Contractors.
In a dry fix solution, the ridge, hip, and verge tiles are fixed in place using screws and plastic union. This allows the entire roof to flex. While you do need specialised kits for the job, the time and money spent will more than pay off later by not having to worry about having to replace damaged tiles and mortar.
Dry Ridges in particular are now mandatory on all new builds in the UK and have been since 2015. Part of the UK building code BS3455 requires such. Houses that currently have mortared ridges do not have to change. However, this being a requirement for new builds is reason enough to see dry fix as a necessary investment from a financial standpoint.
Basics of the Dry Fix Process
Dry ridges use battens kept in place with stainless steel batten straps. After that, the roof tiles are laid out. Then a strip of material called a ridge roll is rolled out covering all of the batten and some of the tiles to each side. After that the ridge tiles are fixed into place one by one with screws and waterproof union.
Dry hips are similar. The process is largely repeated down a hip line, the only difference being hip support trays which are laid on top of the equivalent of the ridge roll (hip roll). Since hip tiles are placed at a downward angle hip support trays help keep them in place while they are being fixed in.
Finally, we have dry verges. After laying down battens and tiles, a “starter unit” is nailed at the bottom of the verge where it meets the fascia. Then the verge tiles are fixed in place one by one, each being fit in where the previous ended. Each one is also nailed in place. Once the bargeboard has been followed all the way to the ridge the process stops and repeats itself on the opposite verge. Once both verges are done till the ridge, an end cap is placed that joins both.